Corporate headshots and LinkedIn photos in Spain: the complete guide
Which format to choose, what to wear, how to run a team session without stopping the office, and what to ask for on delivery so the photos work on LinkedIn, on the website and in the press.
The corporate headshot stopped being a filing-cabinet photo for the org chart long ago. Today it is the first image a potential client sees on LinkedIn, the one that travels with a commercial proposal, the one a journalist asks for when publishing a press release, and the one next to your name on the company website. This guide explains which formats exist, how to prepare, how to choose background and light, how to run a session for an entire team without stopping the office, what sizing LinkedIn needs, and what the delivery should include so the photos last for years rather than for one profile.
What a corporate headshot is actually for
One file ends up in many places: the LinkedIn profile, the "team" page of the website, the email signature, a conference speaker card, the sales deck, a consulting-platform profile and, if the company does any comms, the press release. That is why it pays to treat the headshot as a brand asset rather than as paperwork: you shoot it once and then use it for years in formats you do not fully control.
The second, less obvious function is consistency. A team page with twenty photos taken in twenty different places — a cropped wedding shot, a selfie, one from eight years ago — signals improvisation before anyone reads a line. When the whole team shares background, light and framing, the company reads as one thing, and that effect is not achieved in retouching: it is achieved by shooting everyone on the same set.
The four formats and when to choose each
The classic headshot is a tight mid-shot on a neutral background: it works for the internal directory, LinkedIn and anywhere the photo is displayed small. The environmental portrait places you in your real setting — office, workshop, kitchen, site — and explains what you do without a line of copy. The personal-brand session produces variety: verticals for social, horizontals with breathing room for web headers, detail shots and a few frames of actual work. The team session covers the whole staff to one standard, plus one or two group photos.
The choice follows the use. If you need a single image that works everywhere, take the headshot. If you are a founder, consultant, lawyer or doctor selling your own judgement, go for personal brand, because an active profile needs more than one photo a year. If the space is part of the argument — an architecture studio, a restaurant, a clinic — the environmental portrait does more commercial work than any grey background. The usual and most cost-effective approach is to combine them: a neutral background for the directory and two or three environmental frames in the same session.
How to prepare: clothing, glasses, hair and make-up
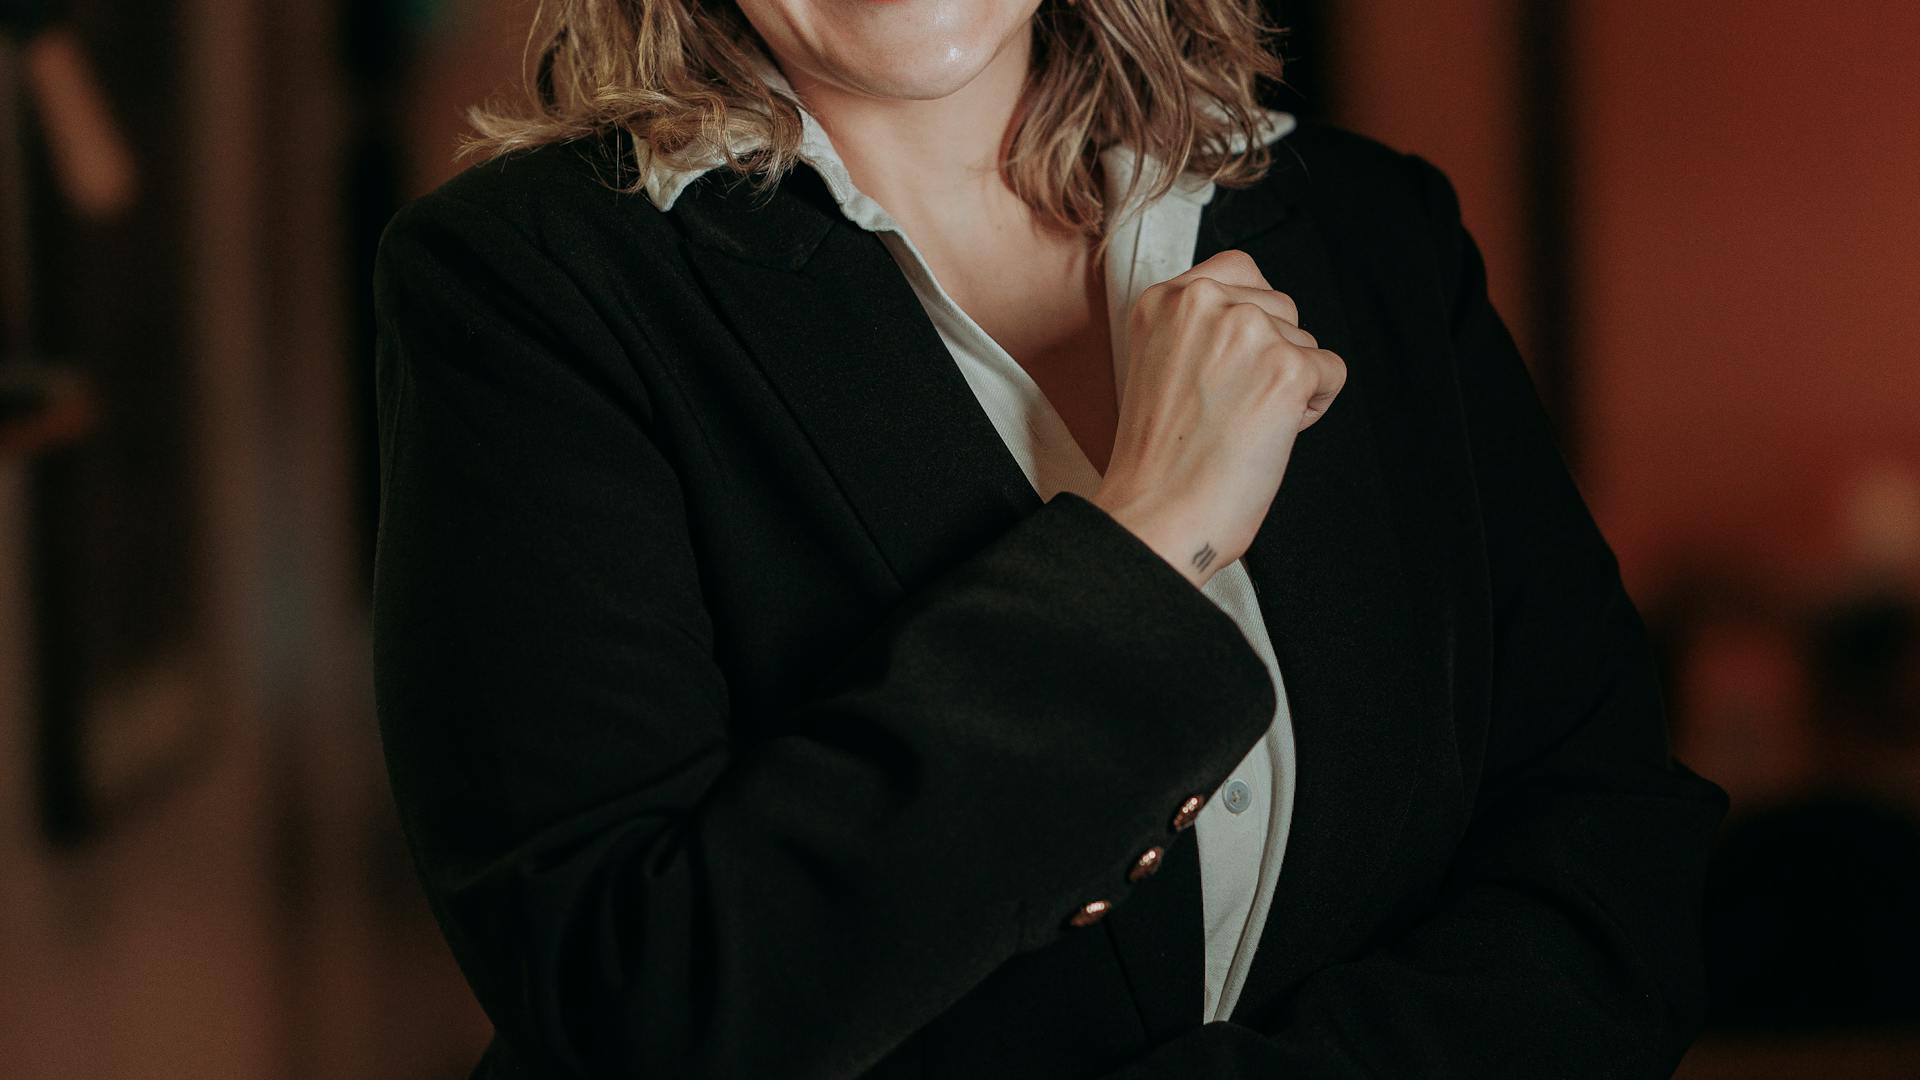
The practical rule is that clothing must not compete with the face. Solid colours in mid or dark tones work well, as do fabrics with enough body not to crease when you sit and collars with structure, which hold the portrait together when the image is displayed small. Avoid very fine stripes and tiny checks, which can produce a vibrating pattern on screen, along with large logos and loud prints, which date the photo the moment the brand changes. Bring two or three options on hangers, not folded in a backpack.
With glasses, the issue is reflections: it is solved by the position of the light and by lowering the temples slightly, so flag it before the session and bring a cloth for the lenses. Make-up should be matte, to avoid shine on the forehead and nose, and natural in tone: the photo has to look like you in a meeting. Haircut and beard trim two or three days before, never on the day. And the part that shows most and is looked after least: sleep the night before and arrive with time to spare, because the tension of having rushed shows in the shoulders and the eyes.
Background and light: studio, office or outdoors
A neutral studio background — grey, white or a corporate tone — is the safest option: it repeats identically for the whole staff, it lets the figure be cut out if the website is ever redesigned, and it does not age when the office is refurbished. The office adds context and saves the team a journey, but it demands a tidy frame and its own light: overhead fluorescents leave eye shadows and greenish tones, so the photographer will bring lighting. Outdoors gives a natural feel and suits creative companies, though it depends on weather and time of day, and it is the hardest to reproduce six months later for a new hire.
The practical recommendation for a company is to set up the neutral background in one room and then, with the light already rigged, shoot two or three environmental frames of the people who will appear on the website or in the press. Everything is solved in a single day, the directory stays homogeneous and the comms team gets material with context. For an individual session, an extra half hour is usually enough to leave with both versions.
Team sessions: the logistics that make them work
A staff session is run with a list and a clock. Book a room with enough space to separate the person from the background, split short slots by department — five to eight minutes per person works well — and publish the order in advance so nobody queues standing up and the office is not emptied all at once. Someone from the company should act as liaison: they know who is missing, who is on a call and who needs rescuing from a meeting. That role is the difference between finishing on schedule and losing the afternoon.
Communicate the dress guidance a few days ahead too, with two concrete examples instead of an abstract rule, and announce that there will be a second round for anyone who cannot make that day. The most valuable thing in the medium term is for the photographer to record the set parameters — camera height, distance, background, lighting scheme: with those, the person joining next year can be photographed the same way and the team page does not break.
Sizing and framing for LinkedIn and the website
LinkedIn displays the profile photo cropped into a circle, so the framing has to leave air around the head: too tight a shot loses the top of the head or the chin once cropped. The platform accepts square images and recommends uploading at least 400 × 400 pixels; in practice it is best to upload the largest file available within the size limit, because the cropping and compression are done by the network itself. Always ask for a square version alongside the original: that is what LinkedIn, the internal directory and most professional platforms need.
The company website needs two more things: a horizontal version with free space to one side, where the designer can place the name or job title, and — if the design cuts figures out — a file on a light, even background that can be cut out without dirty edges. Deliver in sRGB for screen, with a readable file name (first name, surname and year) and no frames, filters or embedded logos: each later use will add those on its own if it needs them.
The mistakes that keep coming back
The first is cropping a social photo: a wedding, a toast, a holiday. It always shows, because the light, the clothes and the look belong to another situation, and someone else's shoulder often survives at the edge. The second is insufficient resolution: an image pulled from a screenshot or a messaging app arrives compressed and falls apart the moment a publication asks for print. The third is a noisy background — a shelf, a half-open door, a cable — stealing attention in a format that is already tiny.
The fourth is the photo that no longer looks like you: a portrait from many years ago creates a micro-disappointment in the first meeting, exactly when you are building trust. And the fifth, less obvious, is aggressive retouching, the kind that erases expression lines and skin texture until the face turns plastic; professional retouching clears a spot or a shine, it does not change features. If in doubt, the test is simple: the photo should be the best version of an ordinary day, not a different person.
What to ask for on delivery: formats, retouching and usage rights
Before booking, put four things in writing: how many final images the session includes, what kind of retouching they carry, which formats they are delivered in — square, horizontal and a reduced version for social — and how long they take. In our case edited photos are delivered in five to ten working days, and if there is a deadline because of a press release or a trade fair, it is better to say so when booking than to ask for a rush afterwards.
The point most often forgotten is usage. A company should explicitly agree that the images may be used on the website, on social media, in sales materials and in the press, and who keeps the files when someone leaves. Storing the material and the set notes in a shared place avoids the classic problem: two years later nobody can find the original and the only copy left is the directory thumbnail.